
One Click Demo Import
Site Launch Simplified: Import Demo with a Single Click
Features
Use the helpful functions of One Click Demo Import feature
Pre-Built Demos
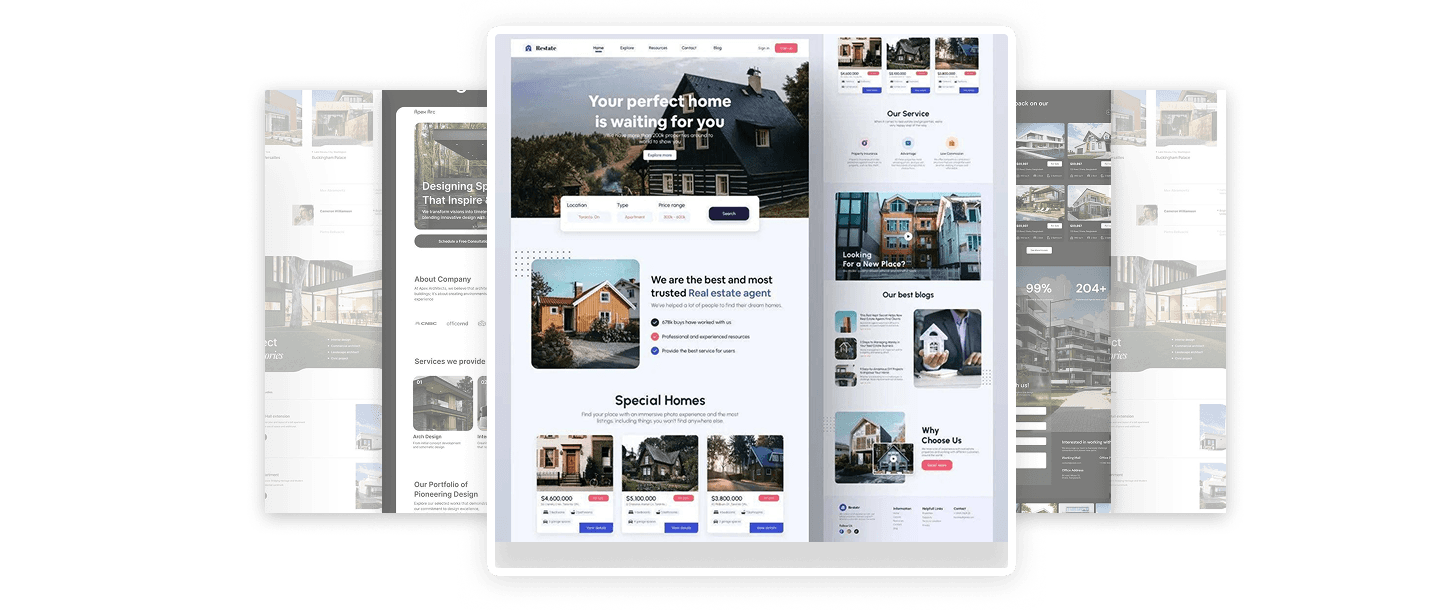
Unlock instant creativity with our collection of professionally designed pre-built demos. Simply choose your favorite, and with a click, transform your site into a stunning showcase matching to your needs.
Multiple Demo Types
Whether you're a single agent, part of an agency, or delving into vacation rentals, we've got you covered. Explore our range of demo types tailored to diverse real estate needs and setup your website with a click.
Plugins Auto Activation
No need for extra hassle! Our system ensures that all required plugins for each demo are not only automatically installed but also activated. Enjoy a seamless experience with the essential tools.
Demos Filters Navigation
Navigate with ease through our diverse demos using our intuitive filters. Quickly explore different types and categories, effortlessly finding the perfect design in need for your real estate website.
Demo Preview Link
Each demo comes with a unique preview link, allowing you to visualize your website's potential before making any commitments. Ensure it aligns perfectly with your vision before hitting the import button.
Latest Contents
Our real estate demos are always up-to-date with the latest trends. From design aesthetics to content, experience the freshest and most relevant elements in the real estate industry.
Step by step
How the demo import works
1. Pick your theme
In your dashboard open Themes and choose any of the nine production themes. Each one ships with its own demo content set.
Expected result: The theme card shows "Selected" and a preview of its demo site.
2. Run the one-click import
Press Import demo content. The import brings in pages, menus, theme settings and a set of sample listings.
Expected result: A progress bar runs to 100% and the import summary lists what was created.
3. Replace the sample content
Open Property Listing and delete or edit the sample listings, then update the About and Contact pages with your brokerage details.
Expected result: Your own listings and copy appear on the site; no sample data remains public.
4. Connect your domain and go live
Under Domain Settings add your domain and follow the DNS instructions. SSL is issued automatically.
Expected result: Your site resolves on your own domain over HTTPS — usually the same day.
Frequently Asked Questions
Demo Import
Why is Webflow the best nocode tool?
How to launch a Webflow website?
When did Webflow was founded?
Who founded BRIX Templates?
Is NoCode the future of the web?
Who are the Webflow founders?
Subscribe to our newsletter
Product updates, new themes and developer-feed additions — plus practical guidance for UAE brokerages. No spam, unsubscribe any time.